Log in your blogger.
Step 2
On Dashboard, click on Layout.
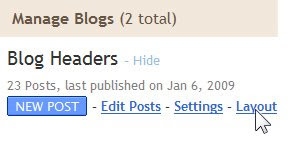
Blogger will direct you to Layout tap. Click on Page Elements.

Step 3
Scroll down to Blog Headers (Header). Click on Edit

Step 4
Blogger will open Configure Header dialogue box. Click on Shrink to fit, and Browse...
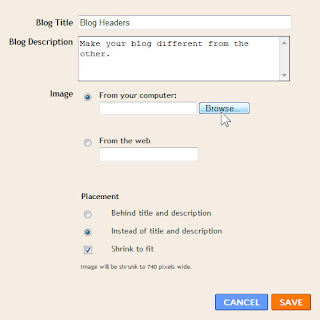
Behind title and description: Your picture will be behind the title and description, so title and description still appear on your blog header.
Instead of title and description: Your picture will stand in front of title and description, so the title and description will NOT appear on your blog header.
Step 5
Locate the header picture that you want to put on your blogger header.
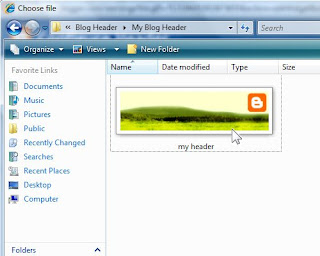
Step 6
Blogger will upload your picture. When it completes, click Save.
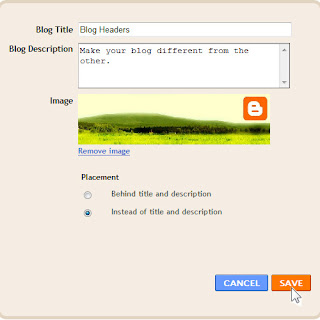
Step 7
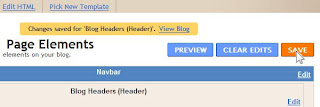
Blogger will return to Layout tap. Click on Save.
View your blog and enjoy the change.
View blog reactions


1 comments:
fantastic
Post a Comment